
Producing a Podcast Part 3: Post-Production
After completing the Pre-Production and Production process of producing a podcast episode, there is still a good amount of work to be done. By now we have all of our audio recorded and have gathered any other audio assets we may need. What’s left is to put all of the pieces together and create our finished podcast episode which we’ll publish and share with the world. We’ll do this in the last and final phase, Post-Production. Here are some things we’ll need to do.
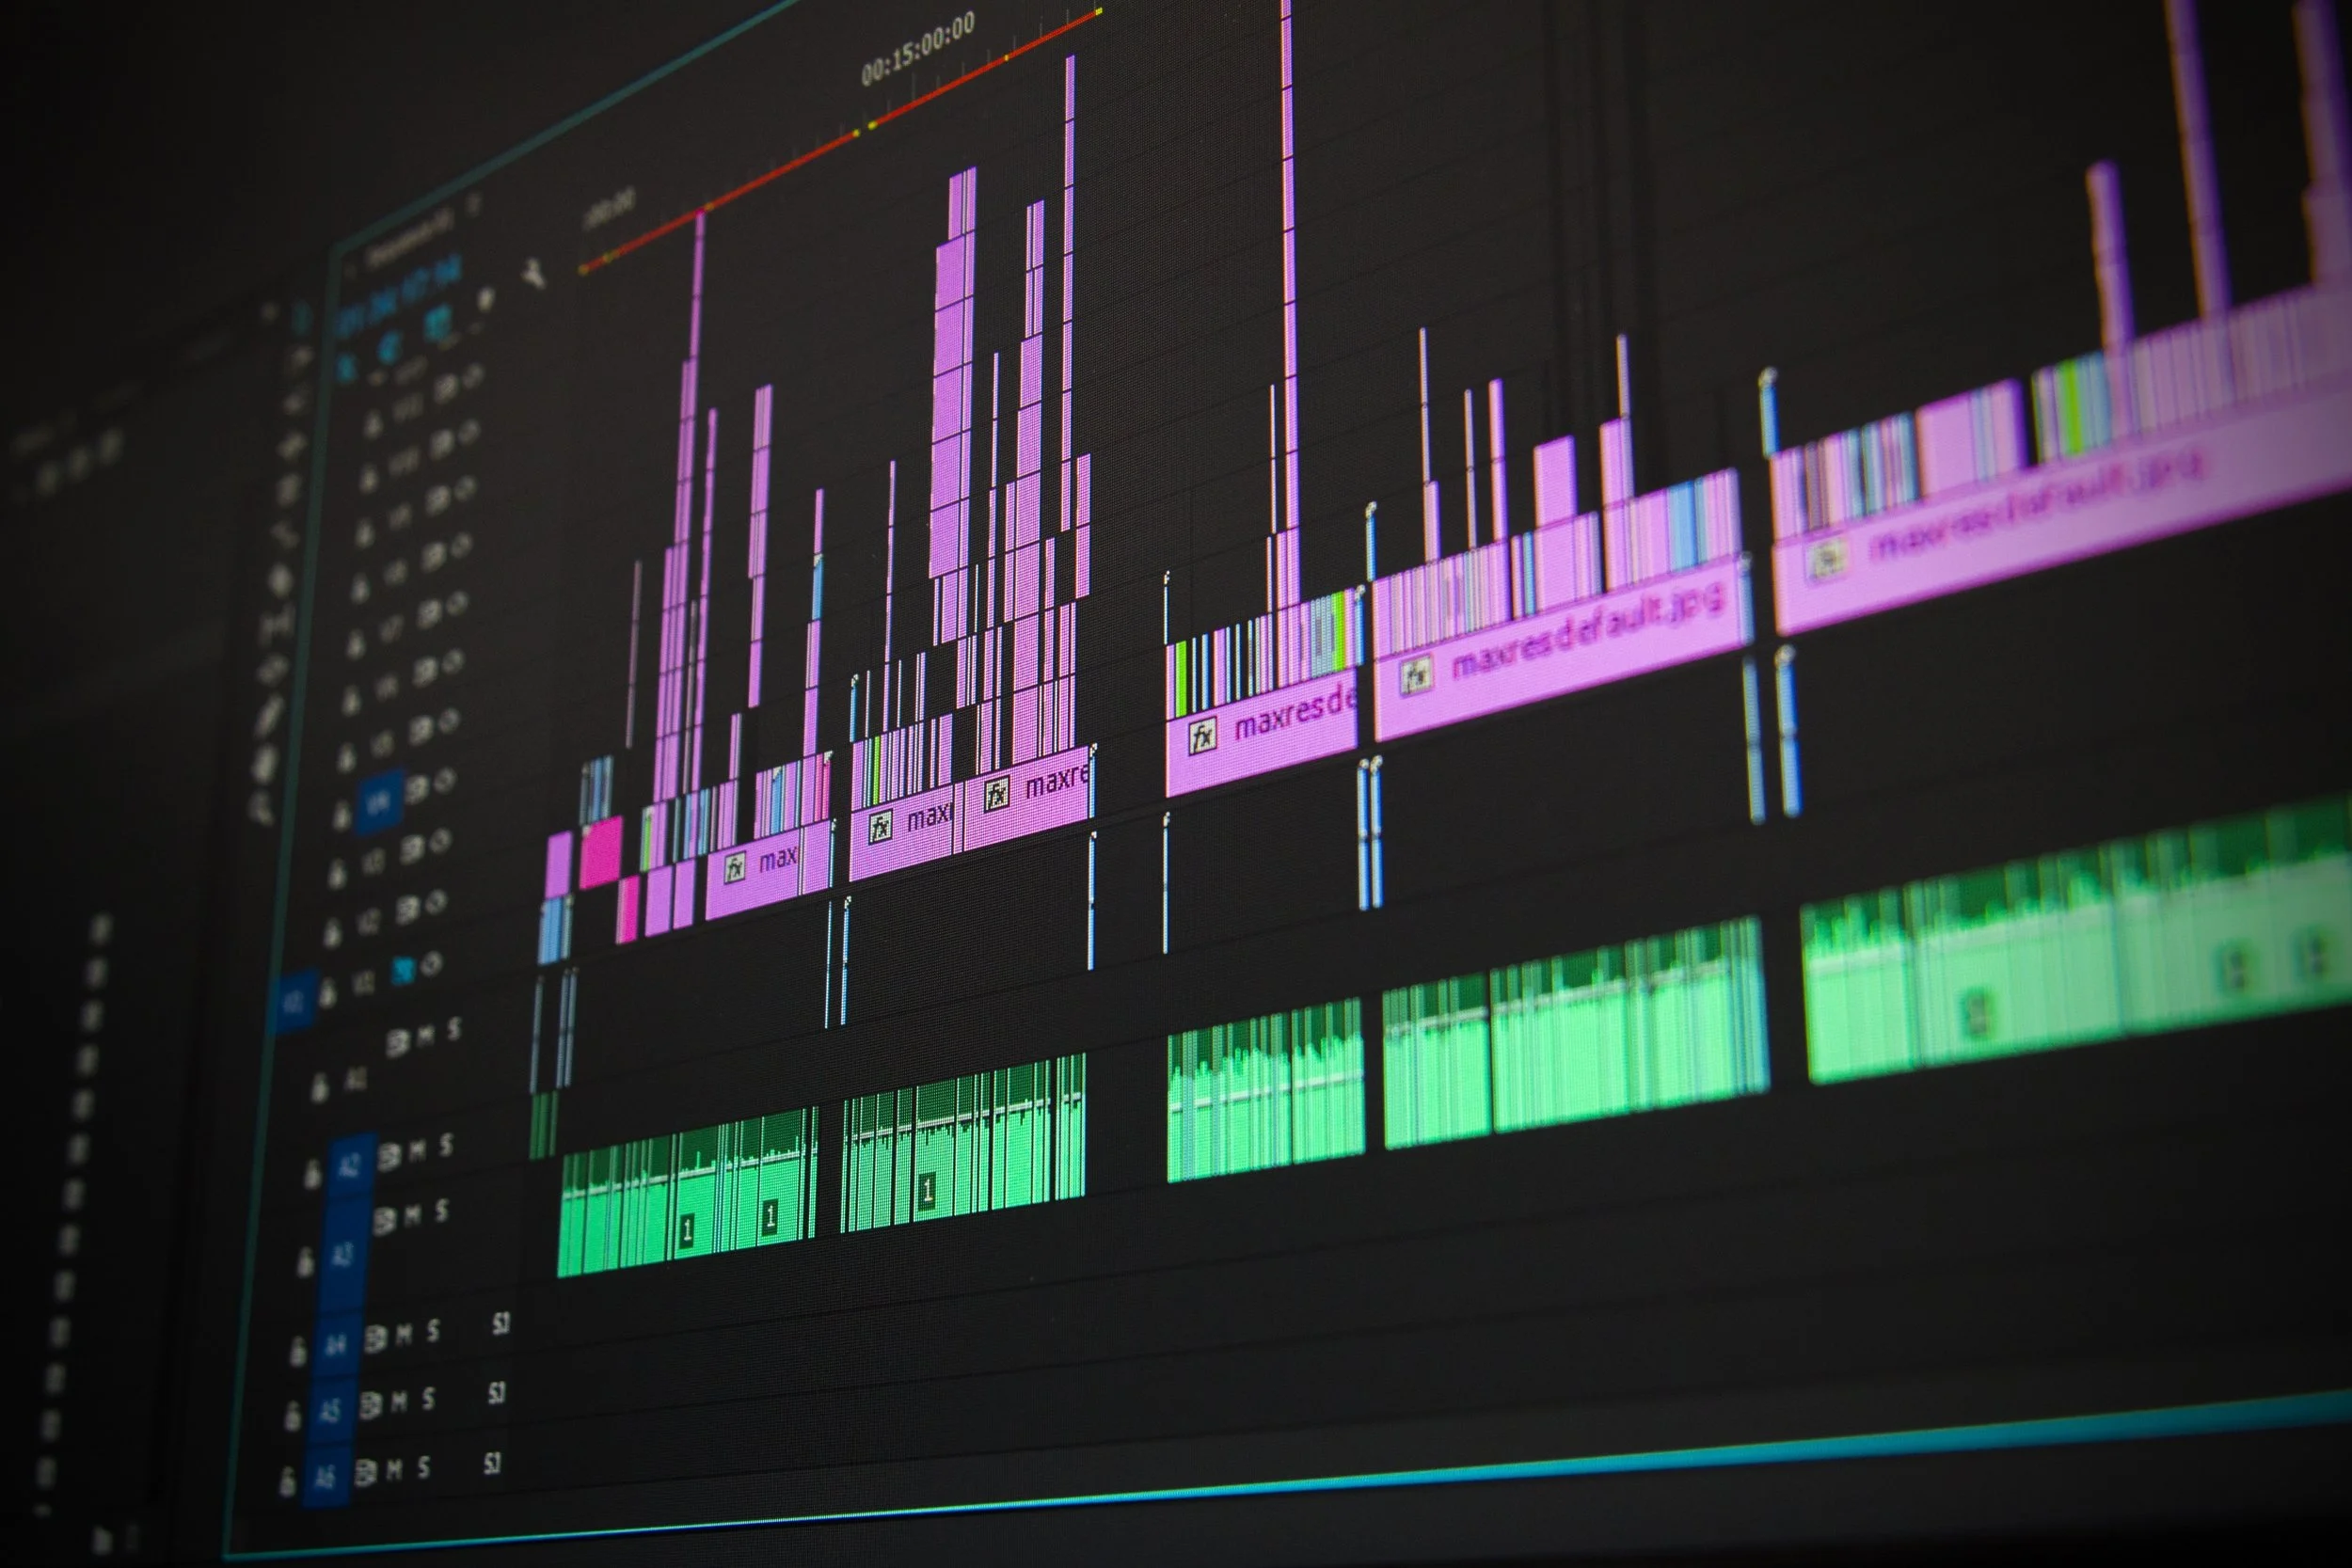
Edit Dialogue

The most obvious thing we are going to want to do as part of the Post-Production process is to edit the dialogue of our podcast episode. How complex of a process this is will depend on several factors and will vary, sometimes greatly, from show to show. For instance, narrative podcasts that closely follow a script or outline will likely require more in-depth editing than off-the-cuff conversational shows. How much you edit your dialogue will also be a stylistic choice as well. Some shows desire to have things sound very informal and keep some small stumbles in speech or mistakes, while others want a very polished and professional sound with all mistakes edited out. Here’s a rough checklist of the issues you can address when editing dialogue.
Edit out obvious mistakes
Edit out unnecessary content if you are trying to reach a desired episode length
Edit for flow/timing - shorten awkward pauses, tighten gaps between different people speaking, add space where speech is too quick or cluttered, etc…
Edit out unnecessary words/moments (if you desire) - things like “umms” “ahhs” “ya know”, repeated words, etc… This is a stylistic choice as to how much or how little of this you want to edit out.
Clean up awkward moments - hosts speaking over each other, coughs, loud background noises, etc…
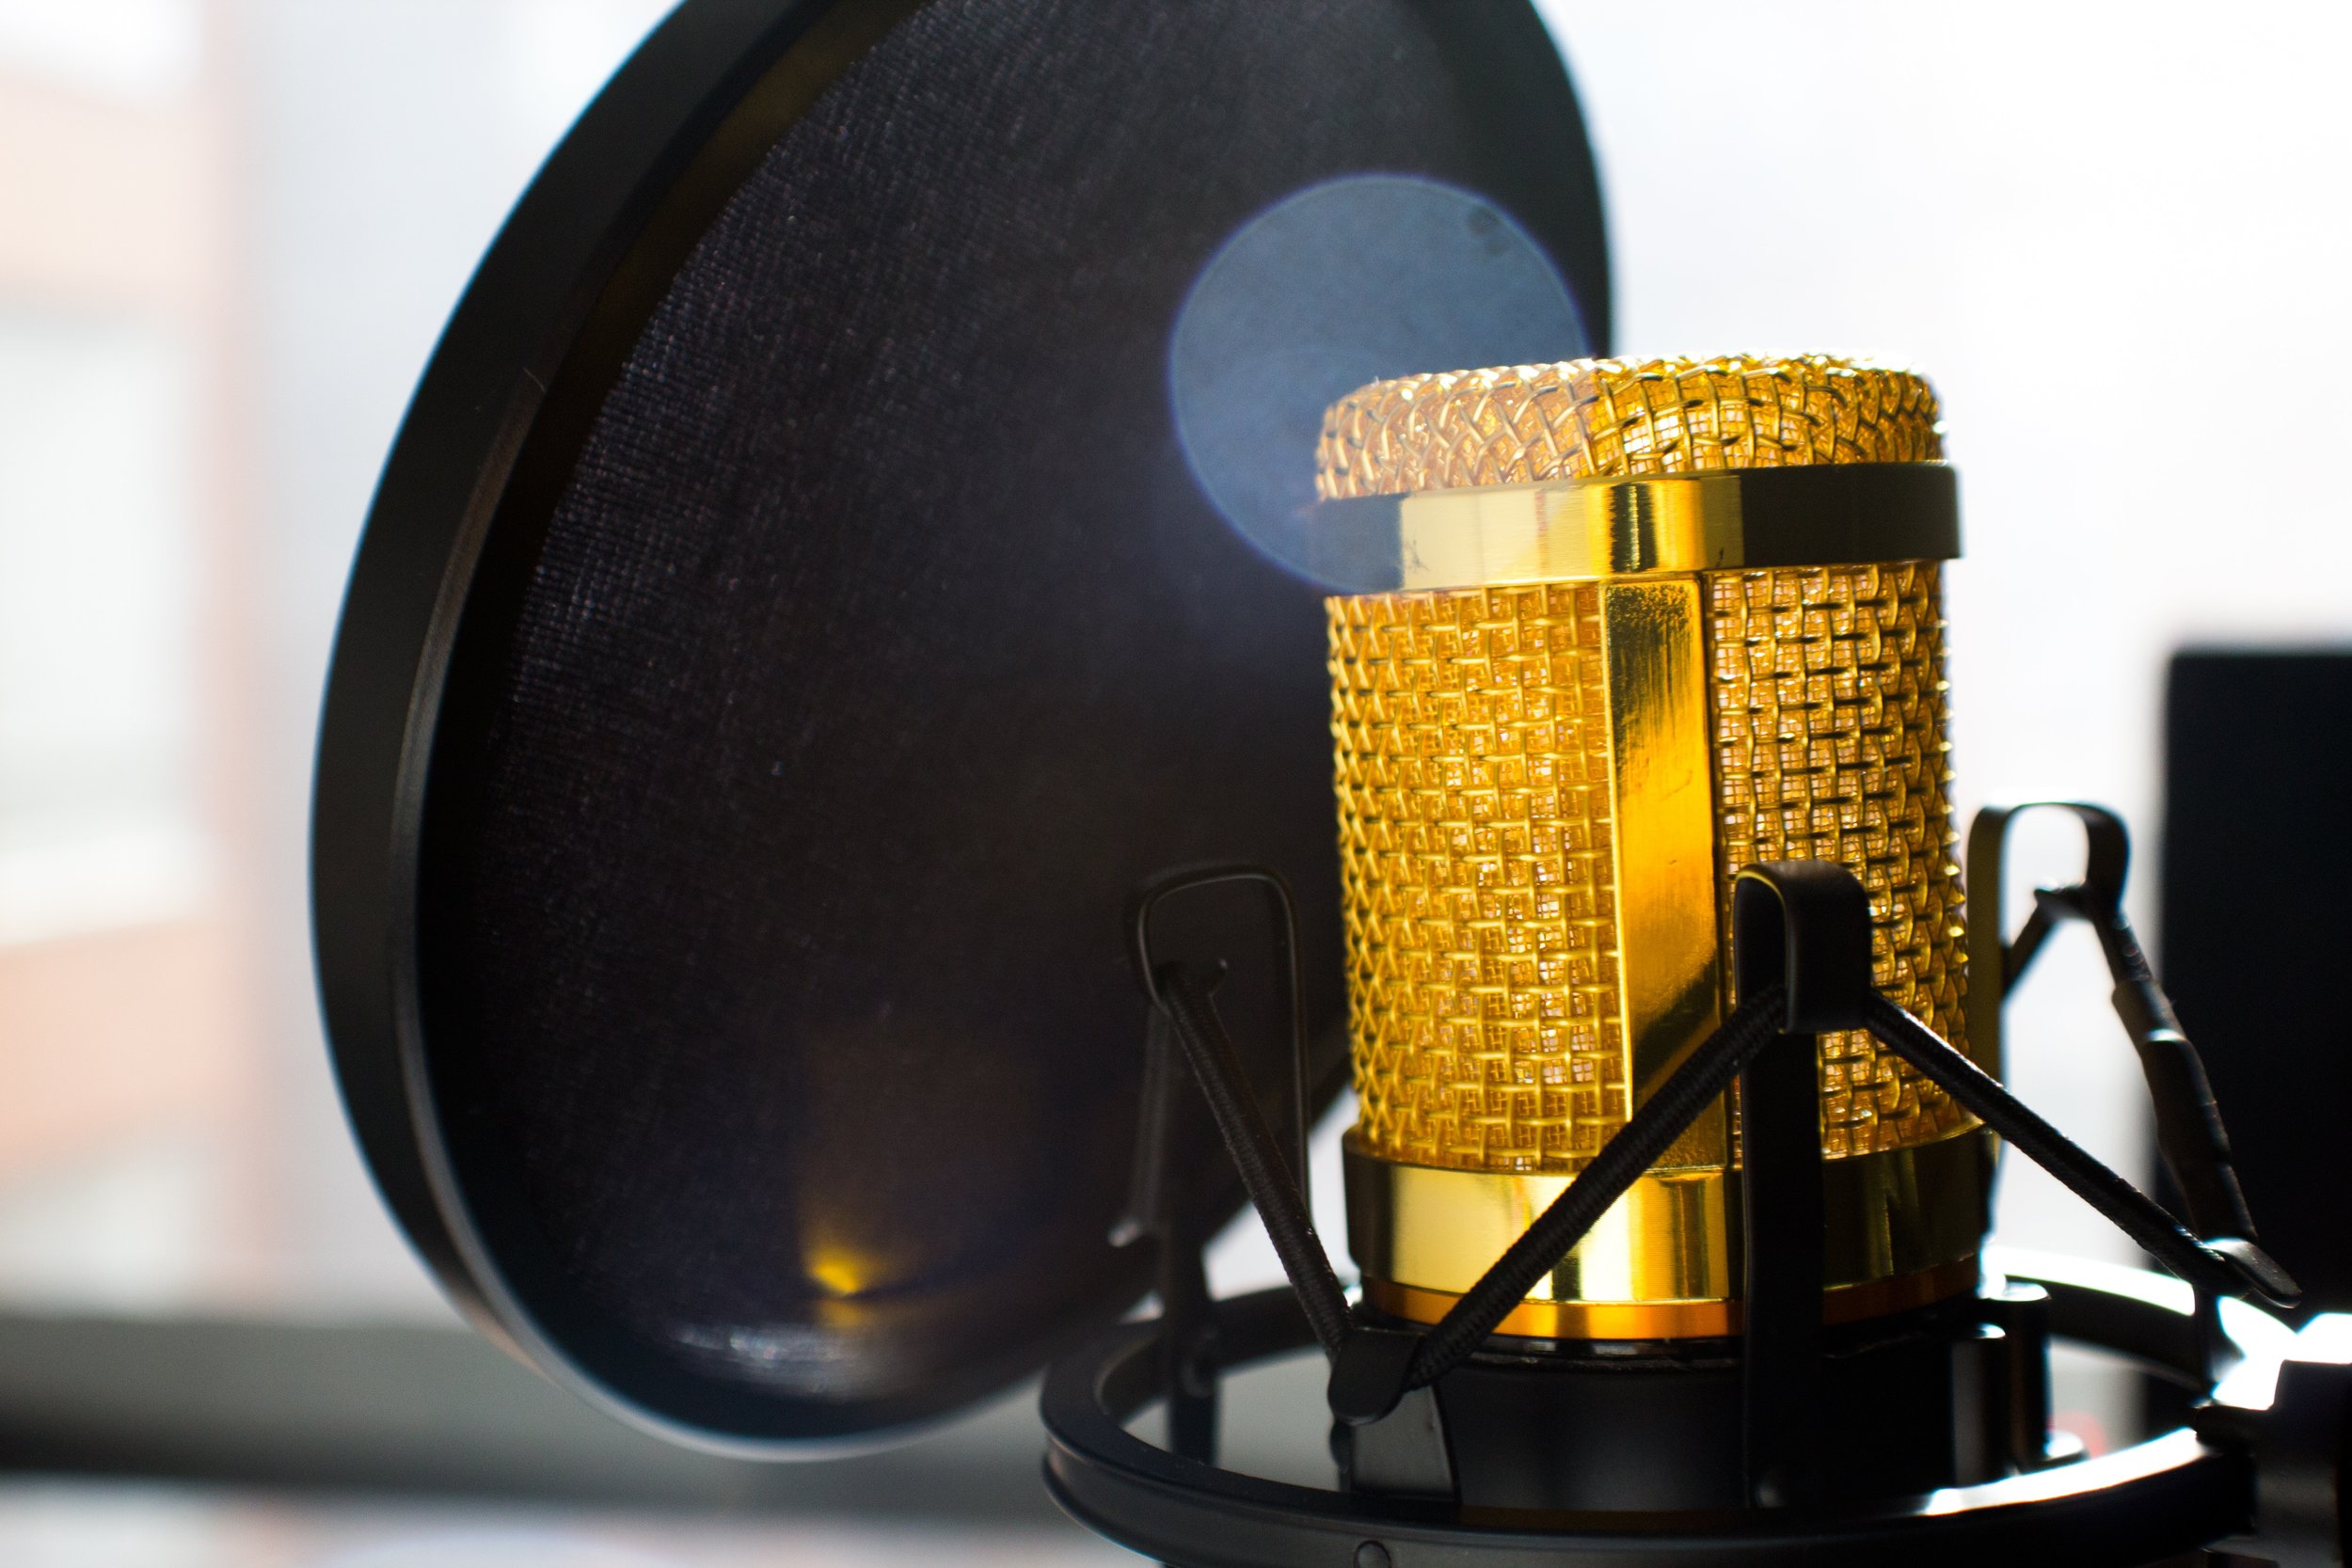
Enhance and Repair Audio
Going back to our post on the Production process, you will want to get things done as best you can at the source. Don’t adopt the mindset of being able to “fix it in the mix”, the best results always come from doing things the right way from the start. That being said, there is still a lot that can be done during Post-Production to enhance your audio and clean up any problem areas that may have come about during the recording. Here’s a checklist of some things you may want to do.
Remove Background Noise: Street noise, hum from appliances, distracting room tone, etc… There are great plugins such as iZotope’s RX that can do this, or even a simple EQ can help.
De-Verb: This is a trickier one and is probably the best example of “DO THIS RIGHT DURING THE RECORDING PROCESS” but if you have a recording that is still a little “roomy” or “echoey” you can do some post-processing to tighten things up a bit. Plugins such as iZotope’s De-Verb or a Transient Shaping plugin can help.
De-Ess and De-Plosive: Again, if you are recording properly, you should be experiencing a minimal amount of these issues. However, some De-essing can go a long way to reducing harsh sibilance and if that pop-filter didn’t quite do the trick with your plosives, a De-Plosive tool or even some simple EQ to roll off low end frequencies can help.
EQ: How you EQ will vary depending on many factors, and may not be necessary at all if you recorded properly, but some small EQ adjustments can help improve the overall quality of a dialogue track and address any issues that may be present. It’s probably a good idea to roll off low-end using a highpass filter across the board too, as you don’t really need anything under 100hz or so on your dialogue tracks.
Compression: Again, you may not need any, but if you have a very dynamic speaker who varies between being very loud and very quiet throughout the course of the show, it may help to use some compression to level them out through the podcast.
Gating: A noise gate is a tool that will basically turn off the audio all together when it is under a certain threshold that you set, and let it play when it is above that threshold. In practice during a podcast, this can look like a track being silenced when a person is not speaking, and then playing regularly during their recorded speech. It can be a nice way to make dialogue tracks more pristine sounding. You may not need it at all, and if you do use one, be careful with your settings, if you overdo it you will create a noticeable effect that will be distracting to listeners.
Add Music/SFX/Production Elements

If your show will feature a more production-heavy approach such as the addition of music beds, sound effects, media clips, etc… we’ll add them in during the Post-Production process. It’s a good idea to have your dialogue edited first, assuming that will be the primary focus of the episode. Then you can go in and layer your music, sfx, or other audio assets throughout the episode.
Add Intro/Outro Segments
Once you have your main content of the episode laid out, with the dialogue edited, and any music, sound effects, or other production elements layered in, you can add in your Intro and Outro.
Ideally, you have a pre-produced audio file of both your Intro and Outro that you can simply tack on to the beginning and end of your episode. You can even set up templates in your recording software that already include these audio files, so that all you have to do is shift them around to the proper place.
Mix

Mixing refers to the process of combining all of the different audio elements of your podcast episode so that they all work well together and don’t distract from each other or the focal point of the episode. While Mixing is a deep topic that involves many different tools, techniques, and processes of audio production, here are some basic things to pay attention to.
Levels of dialogue among different speakers: Make sure that if there are multiple people on the show, the volume levels of their dialogue are all pretty consistent.
Panning: This is the process of placing audio elements in the stereo field. When you have a pair of headphones on, something that plays only out of the left headphone is panned hard left, and something that plays out of only the right headphone is panned hard right. Something panned in the center should play at an even volume from both the left and right headphones, giving the impression that it is coming from right in front of you. You’ll almost always want your dialogue panned in the center, unless you are making some creative stylistic choices not to.
Music levels: This will be a stylistic choice, but you need to determine if your music is just a bed to sit underneath the dialogue or will play a more prominent role, and mix it that way. Things like EQ and Stereo Width adjustment can also help separate your music from the dialogue, so that they do not overpower each other.
SFX: Again, you will be making a stylistic choice in how the SFX are mixed into your episode, but you want to make sure they don’t make it hard to hear certain words or phrases in the dialogue or overpower other audio elements. You can use panning to place sound effects more to the left or more to the right in your mix, so that they don’t overlap dialogue too much.
Master/Finalize

Once everything is edited up, all elements are in the right place, and we have a nicely balanced audio mix of our podcast episode, the last thing to do is to Master or Finalize our show. Some of the things to consider doing during Mastering are as follows:
Apply any broad strokes audio processing to the entire overall mix of the episode. This can be some compression to help “glue” together all of the different elements (dialogue, music, sfx, etc…) or maybe some EQ, or something else.
Limiting: This refers to using a limiter tool/plugin to set the overall volume level of your podcast. There are different metering tools that can help you assess the overall level of your episode, and a good number to shoot for, for a stereo audio file is -16 LUFS. There are some differing opinions on this out there, but that’s a pretty good target to aim for. LUFS stands for Loudness Units Full Scale and is a measurement of the overall loudness of an audio file.
Stereo vs. Mono: If your episode contains music and sound effects, and elements that are panned to different places in the stereo field, you will surely want to bounce your final file as a stereo file. If your episode is dialogue only, you may still choose to do stereo, but a mono file will be fine and will be a smaller file size.
File Format: You will likely want to bounce your final file that will be published to your hosting platform as an MP3 as this is the current standard file type for podcasts. However, if you are sending your file off for further editing or production, you will want to bounce a higher quality uncompressed file like a .WAV file. This way, whoever will be doing further work on your episode, will have the higher quality file to work from, and they can then create the compressed MP3 version when they are done.
Whether you already have your own show, or are just getting started with podcasting, I hope this 3-part guide helps you get a better sense of the overall process and answers some questions you may have had. Like with most things, there is no “one size fits all” approach for podcasting, so through trial and error and continued experience, you will learn what works best for you. We wish you the best of luck with your podcast and if you ever need a hand with any part of the production, feel free to give us a shout!
Need help with the production of your podcast? We’d love to work with you! Fill out our contact form and we’ll be in touch right away.
Are there any other things you do during Post-Production that we may have missed? Let us know in the comments!